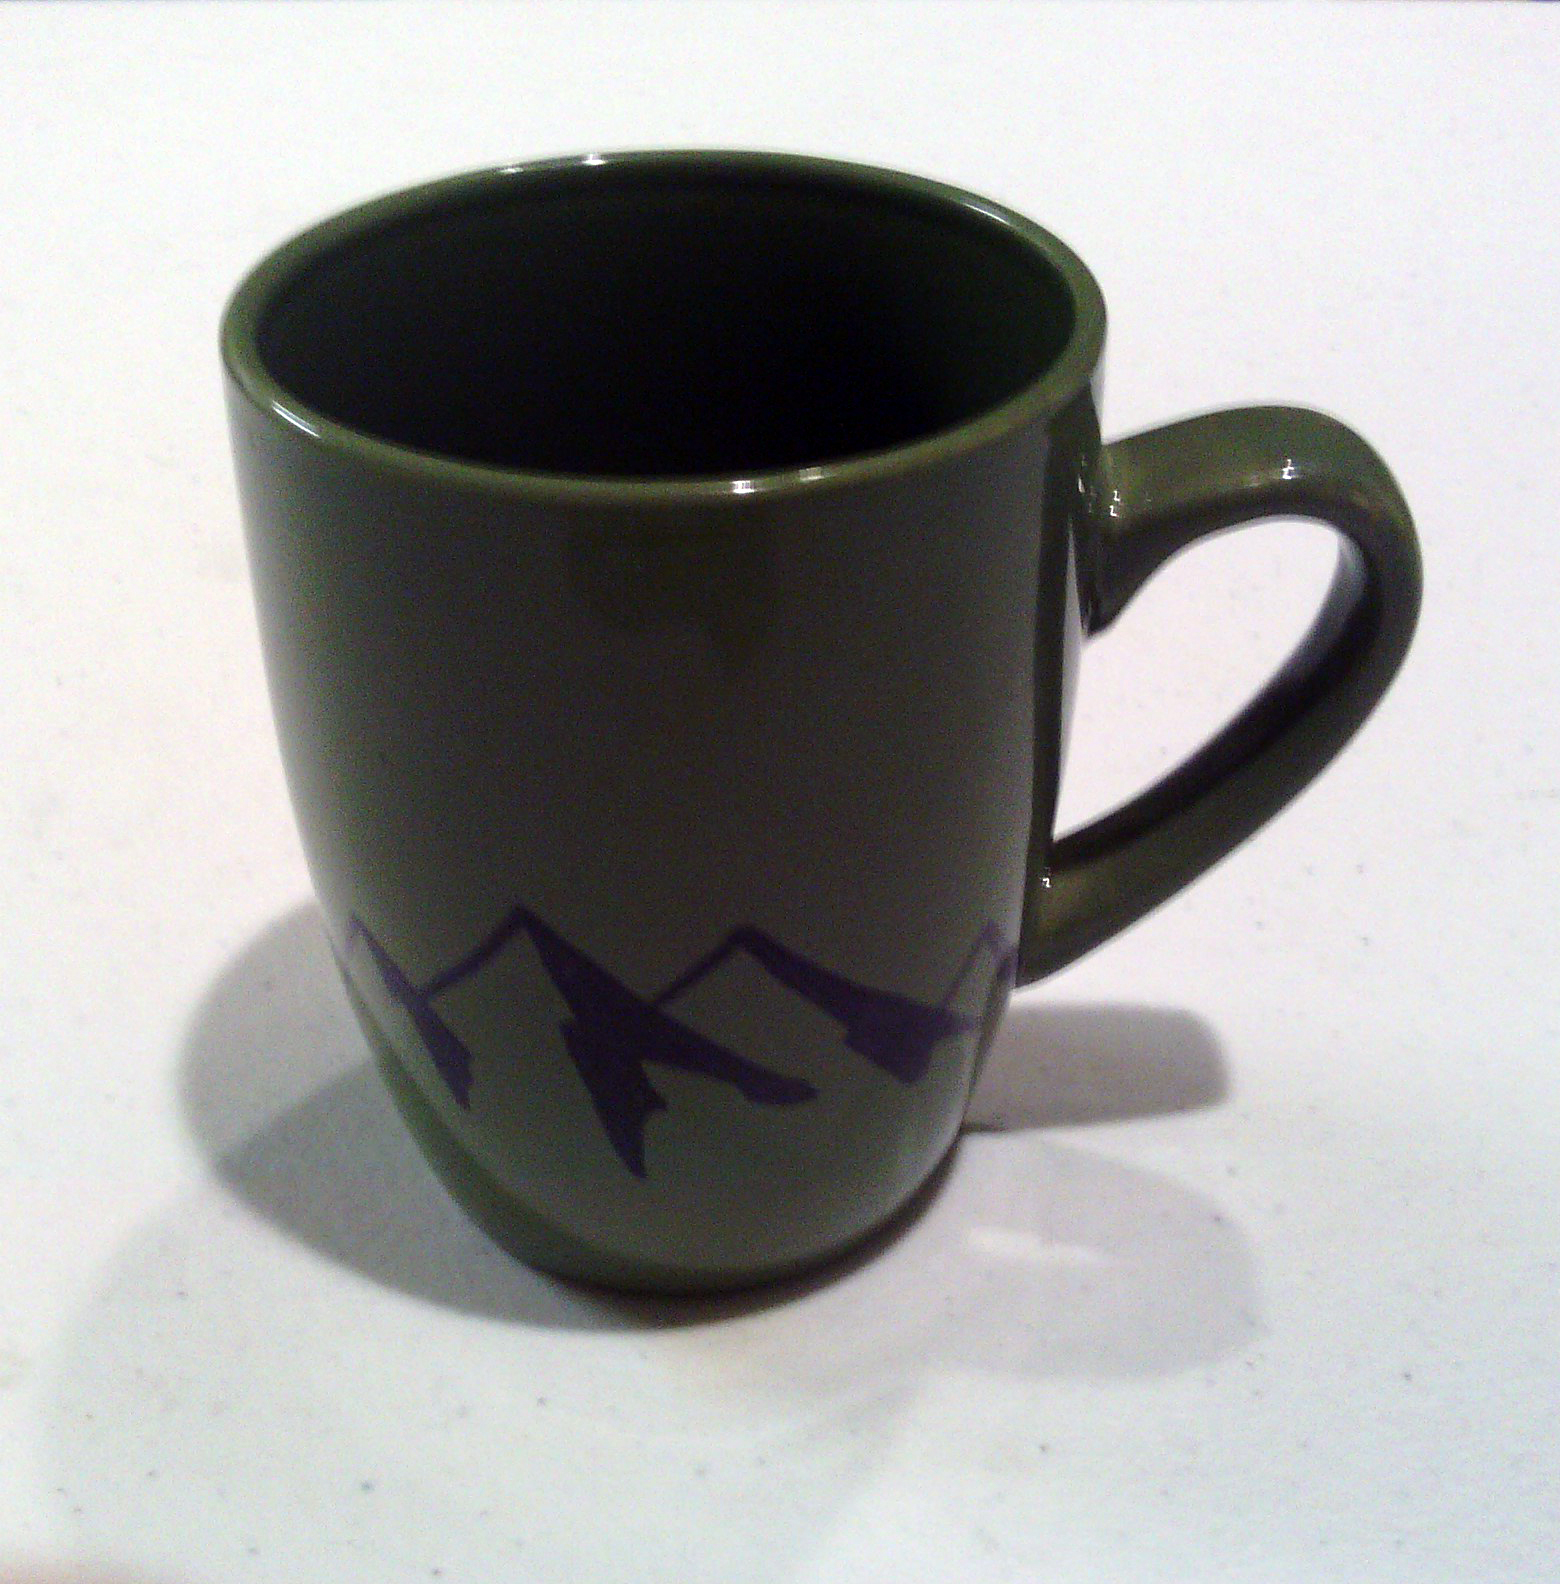
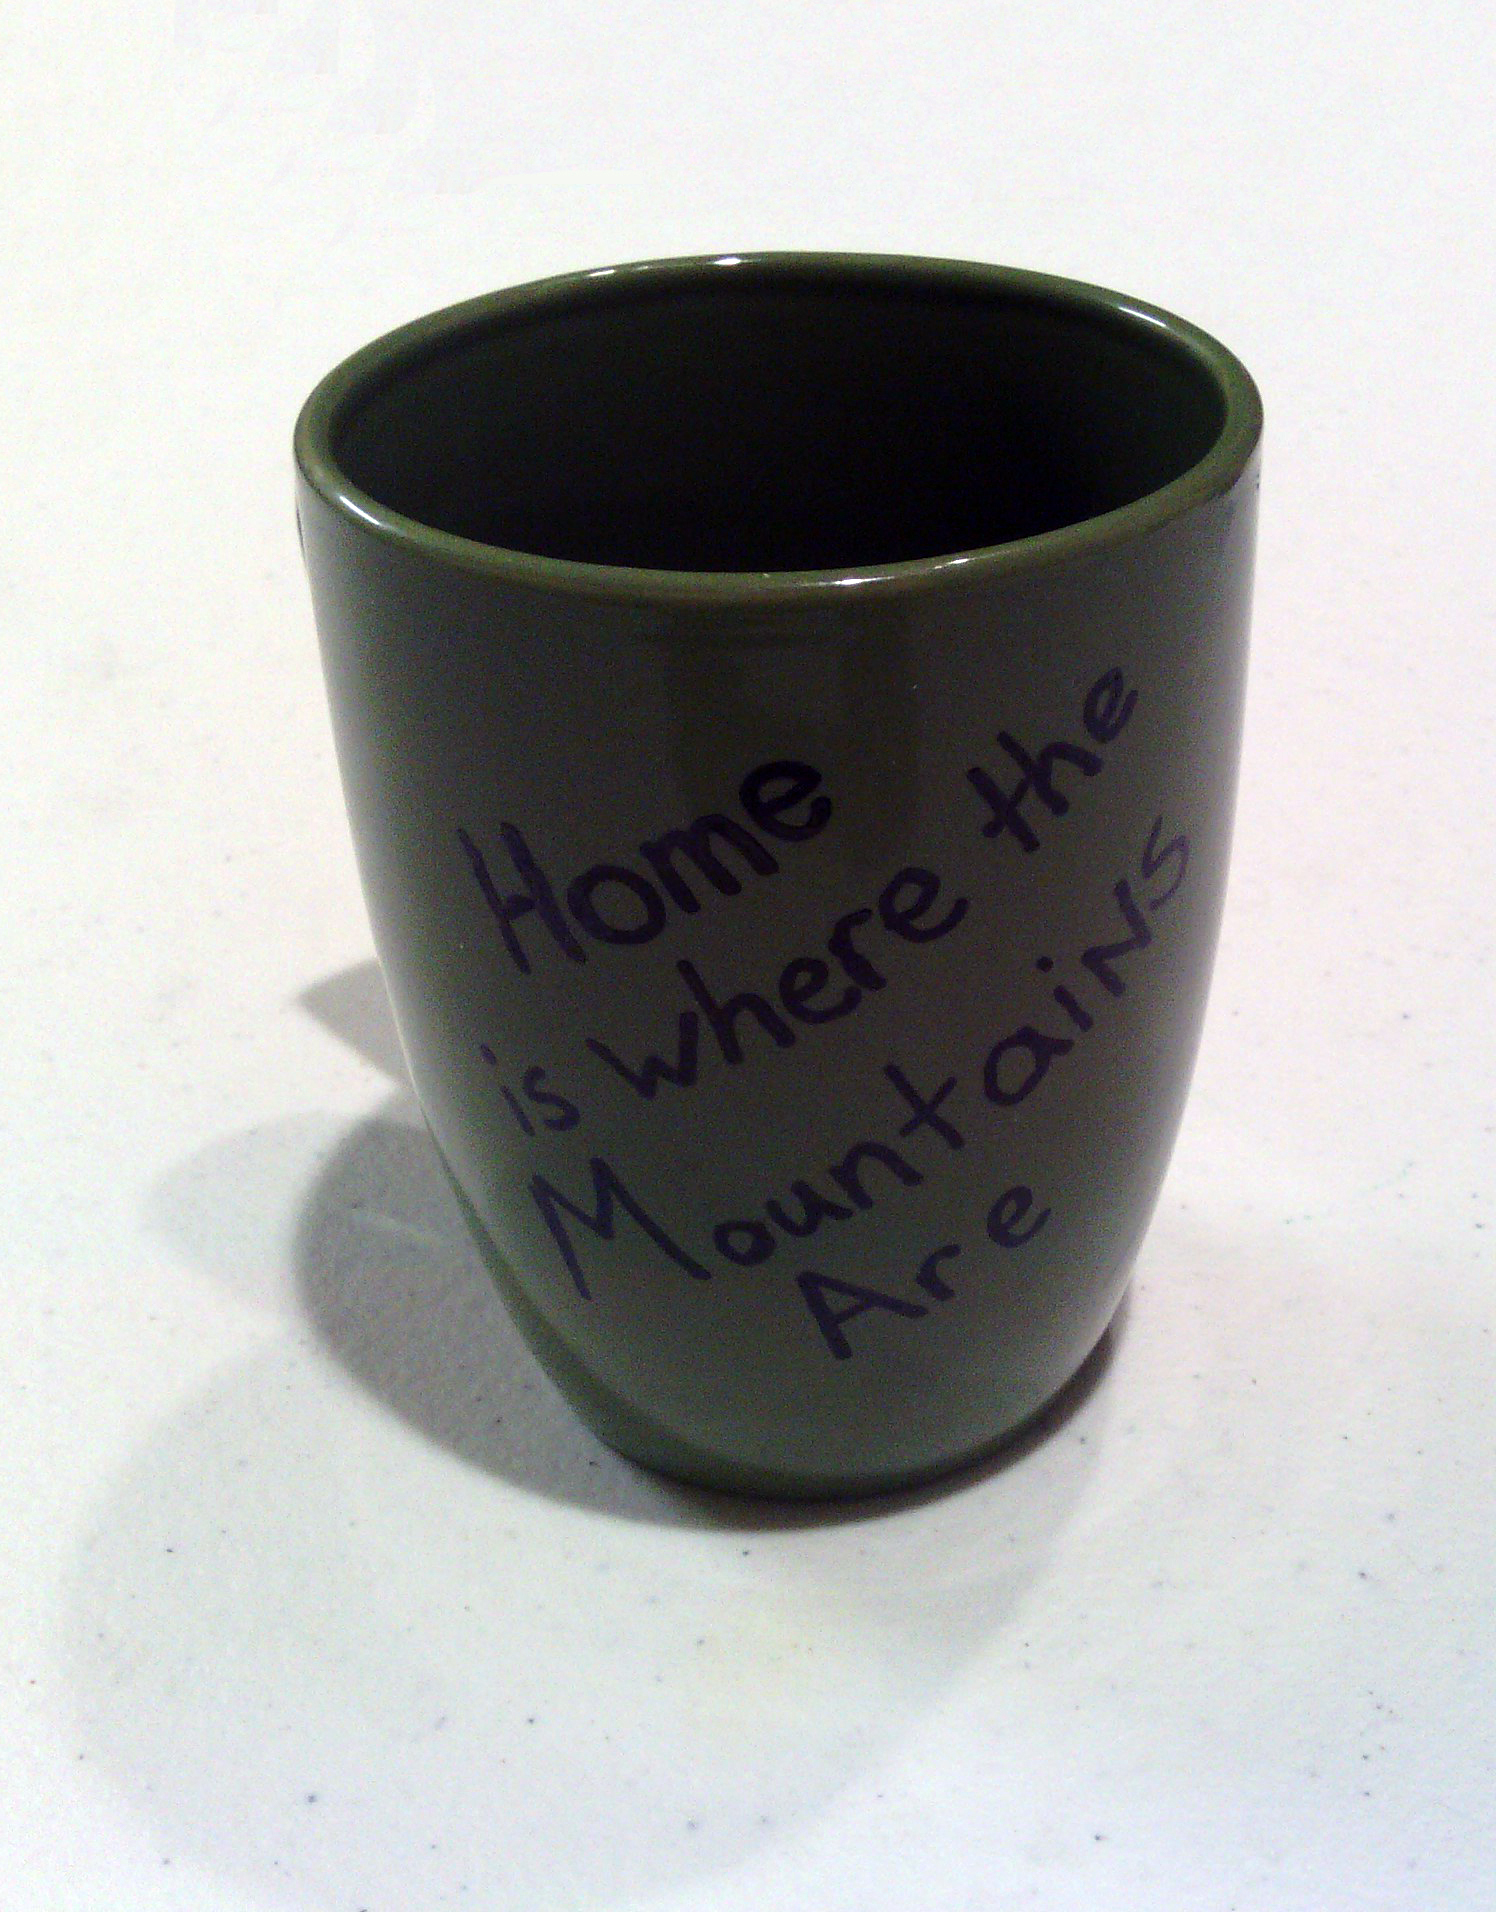
Last week I posted my collection of cute little Luma Plushies I made for my friends this holiday season. This week I wanted to show you guys how I made some personalized mugs. But wait, hasn’t every DIY-ish blog out there done this post? Yep, I know it. And it seems that the reason that it is so is because the craft is fun and adorable. It is also very nice on the wallet on how much it cost to get supplies for it. Below is a quick little guide on how to make these personalize mug.
Supplies:
- Mug(s)
- Oil Paint Pen
- Old Cookie Sheet
- Reference
Time: It took me two days to make it. A lot of the time was waiting though.
Step 1. The Design.
This is a simple enough step. Find a design or quote you want on the mug and use the pen the draw the design on the mug. If you want to get very detailed with this I would suggest getting some tracing and graphite paper to make a more accurate drawing. Let the ink dry on the mug for about 24 hours.
Note: Be careful not to smear the ink.
Step 2. The Oven.
Put the mugs unto the cookie sheet and set whole thing in the oven. After you get the mugs in the oven, set the baking temperature to 350 degrees Fahrenheit. You want the mugs to warm up to the heating temperature. Let them stay in the oven for about 40 minutes, then turn off the oven. Let the mugs cool in the oven before taking them out.
There you have it! Cute mugs that I made for my parents.
What I learned from this project:
- Rubbing Alcohol and cotton swabs are a great combo to use to fix any mistakes.
- Preheating the oven before putting the mugs in will break the mugs…
Did you make/get any homemade gifts this Holiday season?
