Hi guys! A couple of months ago I worked with a friend to run an Arts and Crafts Festival booth. We made block prints to sell, and I sold my designs of the first generation of starter Pokemon there. Looking back at it still brings a goofy smile to my face. I had so much fun running the booth and meeting people who shared my love of gaming. I think I promised to show you guys how I made these, and today is the day I finally do it.
Unfortunately, the print shop I went to create the actual prints is unavailable to me at the moment. However, that doesn’t mean I can’t show you how I made the blocks. The other half, the half where you’re actually using paint to create prints, will have to wait until I either get access again to the print shop, or a make a mini shop at my apartment. Whichever one comes first I guess. Check it out below!
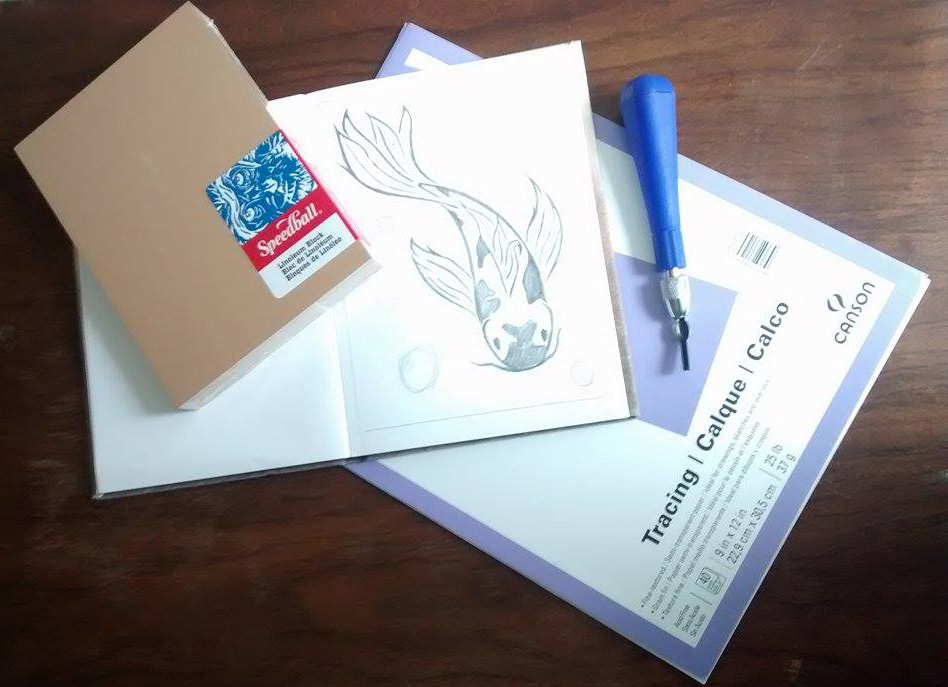
Materials:
- Pencil
- Pen
- Tracing Paper
- Linocut Block/Rubber Block
- Linoleum Cutting Tool
- Your Imagination
- Image
Time: This honestly depends on the size of the image you want to create. This part of blockprinting can take anywhere from 30 minutes to a few hours depending on the complexity of your design. Mine took about 7 hours to complete from start to finish. Of course, I was also watching tv while I was doing it.
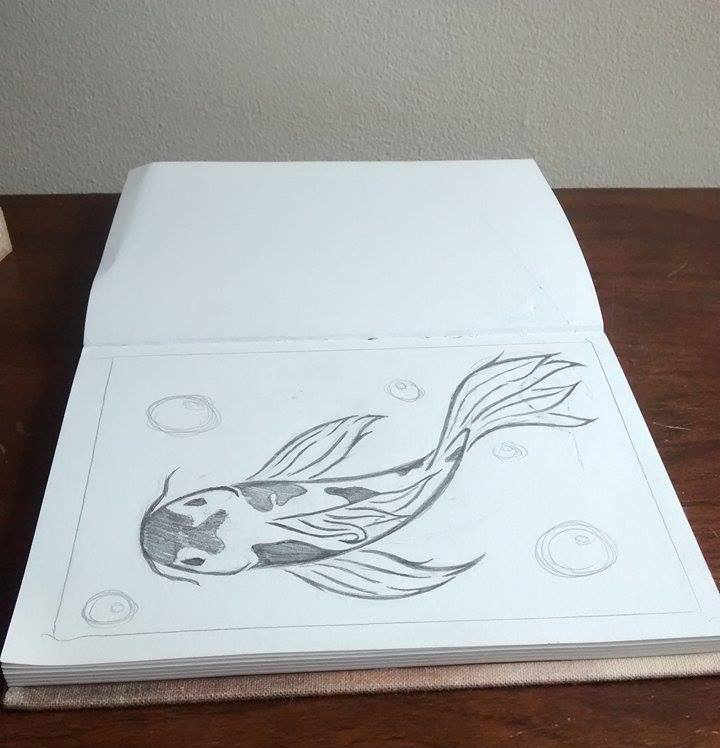
- First you need to find the image you want to create. If you print off a the design, then you won’t really need tracing paper (I’ll explain why later). If you are drawing the design yourself, then you will need to do that first. I measured the size of my linocut block so that I could make sure the image would fit on it. REMEMBER: Your design will then to be a mirror image of whatever you want it to actually look like. So, for example, if it has text in it, you’ll need to write that backwards.
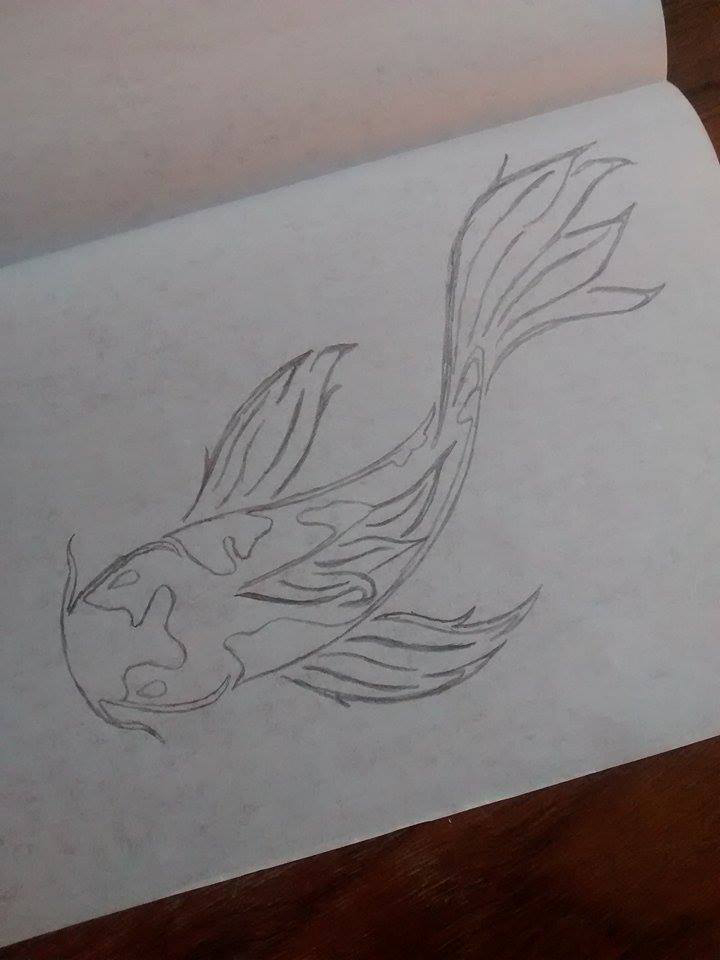
- (Please Note: This step doesn’t apply to anyone who printed off their design.) Now use the tracing paper to trace over your design. Make sure to hold the tracing paper down so that it doesn’t slide around and mess up your design.
- Flip the tracing paper/printed image over. With your pencil, create a huge giant area of graphite on the back. This will be the part of your image that should be traced unto the design. I usually just put graphite on the lines I will be transferring.
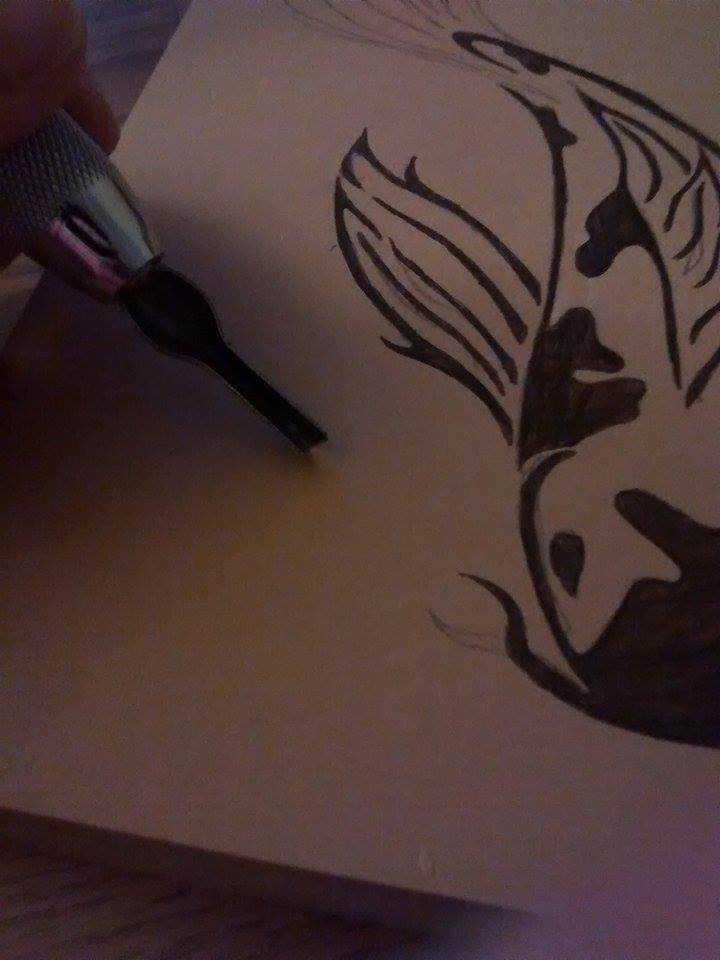
- Flip the paper back over and put it over the block. The graphite side should be facing the linoleum/rubber. Now trace your image unto the block. Once I get done with this, I usually redraw it with pen on the block so that I can see what I’m not cutting out. Most people color in the area they want to cut. I’m weird, and do it the opposite way.
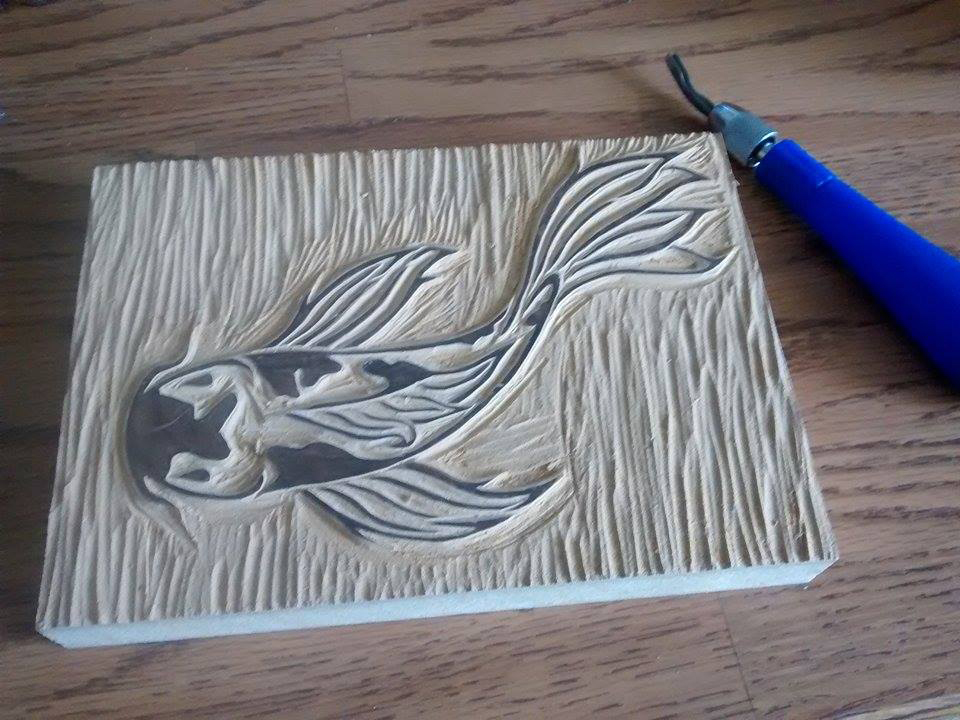
- Now carefully use the cutting tool to cut the design away. Be careful if you switch out the size of the cut, and be careful that you don’t cut yourself while doing this. Use the area you plan to cut away as practice for the details in the image.
- You now have a stamp/linocut block complete!


Things I Learned:
- Just like when you’re playing with knifes, don’t stick you hand in front of your cutting tool while you’re cutting. You will eventually cut yourself and it will be painful (I say this unfortunately from experience).
- There are a variety of materials you can use for this. Rubber is probably the easiest and the best for making stamps, and the material that I prefer.
- It’s more fun to have a detailed piece to cut, but start out simple, with solid shapes and such. It’s easier to master this skill if you go that way.
Sorry I posted this so late in the day. This post took longer than I thought it would to put together! I hope you all enjoyed this, and I hope you look at other blogs about blockprinting. I say this because this post is based off my experiences with blockprinting, and I learned from scratch. Others have taken classes over this and can give you a better idea of how to go about learning this skill. If you have any questions or thoughts about blockprinting, comment below!
I hope y’all have a great week ahead of you!

That is awesome! We did this in art class when I was in school, but I don’t think anybody made one as nice as your fish. Lovely job and cool tutorial.
LikeLike
Oh that’s cool! I never went to Art classes (other than the ones required in elementary and middle school), so I bet that was a fun experience!
Aww, thank you!
LikeLiked by 1 person
Yes! I love lino printing, but I’ve not done it in sssooo long. I love that you chose a Koi, great design.
LikeLike
OH! I bet they looked awesome.
Awww, thank you! Koi are so beautiful; it’s hard to not want to draw them. 🙂
LikeLike
Oh wow! That’s amazing!
LikeLike
Awwww, thank you! It’s a really fun art style to learn.
LikeLiked by 1 person
This is really cool! I’m not very artistic so I could never do this, unless it involved stick figures that is lol Even though I can’t recreate it I like learning about it. I look forward to your next post about how to create the actual prints.
❤ and harp strings,
Kate
LikeLike
That would be kinda cool to make though. The stick figures could tell a story, like a picture. 🙂 But I hope to get it done soon. 😀
Unfortunately, I don’t know how long it’ll take before I can get to a printshop and be able to take pictures and create a post.
LikeLiked by 1 person
Haha it could be! Although my stick figures are still a disgrace to stick figures 😛 I can do a weird stick figure-esque harp doodle thing too, so that might be neat to try if I ever give this an attempt! I hope you’re able to get into a print shop soon too 🙂
LikeLiked by 1 person
If you ever get to make one, I would love to see it!
LikeLiked by 1 person
I’ll make sure to do a post and tag you if I do! But I think I’ll have to wait to see how the print side of it works first 😛
LikeLike
Awesome! I better get a move on it then!
LikeLiked by 1 person